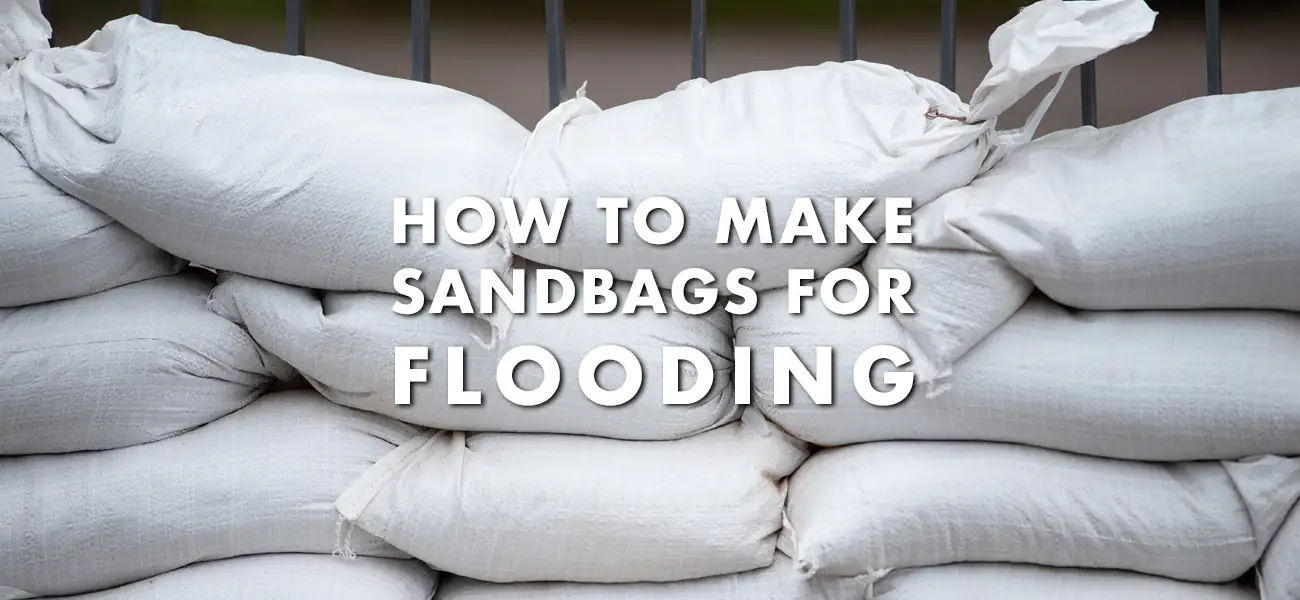
How To Make Sandbags For Flooding: Homemade Sandbags Guide
| General
If you’re preparing for a flood and need an affordable solution, learning how to make sandbags for flooding can be a lifesaver. Homemade sandbags can be created using readily available materials like old pillowcases, feed sacks, or garbage bags filled with sand, dirt, or gravel.
While commercial sandbags offer durability and convenience, DIY options can be useful for temporary flood protection in emergencies. Below, we’ll guide you through the process of making homemade sandbags, covering the best materials to use, filling techniques, and tips for securing them to create an effective flood barrier.
Looking for durable sandbags? Check out our sand bags for sale and ensure you’re prepared before the next storm.
How to make sandbags for flooding
If you’re looking for an effective way to protect your property at a low cost, learning how to make sandbags at home is something you should consider. While DIY methods work in emergencies, using high-quality sandbag material ensures better durability and reliability. The best approach is to purchase military sandbags, fill them properly, and stack them correctly for flood control.
Follow these steps to create and deploy effective flood barriers using sandbags.
Step 1: Gather Your Materials
To make homemade sandbags, you’ll need:
- Empty sandbags (woven polypropylene or burlap for durability)
- Filler material (sand, dirt, or gravel)
- A shovel or scoop for filling
- Twine or zip ties to secure the bags
- A tarp (optional) for extra water resistance
If you don’t have sandbags, consider an alternative to sandbags for flooding, such as plastic bags or fabric sacks. However, woven sandbags provide the best strength and protection.
Step 2: Fill the Sandbags Properly
- Only fill each bag about halfway (⅔ full at most). Overfilled bags are difficult to stack and don’t conform well to flood barriers.
- Use moist sand if possible, as it packs more effectively and creates a better seal.
- If using dirt or gravel, ensure it is free of large debris that could puncture the bag.
Step 3: Secure and Seal the Bags
- How to tie a sandbag: Fold the top of the bag over and secure it with twine, zip ties, or a rubber band. Avoid leaving open spaces where water could seep through.
- If using plastic bags, double-bag them for extra strength.
Step 4: Stack the Sandbags Correctly
If you’re wondering how to use sandbags for flooding effectively, it starts with proper stacking.
- Place the first row of sandbags tightly against the ground, overlapping slightly like bricks.
- For doorways, create a pyramid shape with staggered layers to build a stable barrier. You can also learn more in our article, which goes into greater depth on how to sandbag a doorway.
- Use a tarp over the sandbags to create a watertight seal and extend their lifespan.
Step 5: Maintain and Replace as Needed
- How long do sandbags last? Woven polypropylene sandbags can last months to years depending on UV exposure and moisture levels.
- Check the material regularly for wear, leaks, or degradation.
- Use a sand bag calculator to estimate how many bags you need for effective flood protection.
Making your own sandbags is an affordable and effective way to protect your home. However, high-quality woven sandbags offer better durability and flood control.
Other ways to make homemade sandbags for flooding
If traditional sandbags aren’t available, there are several DIY alternatives that can serve as temporary flood barriers. While commercial sandbags provide better durability and protection, these methods can be useful in an emergency or as a cost-effective, reusable solution. Below are some homemade sandbag alternatives that require no additional purchases and can help keep your house protected during a flood.
Reusable Flood Barriers
Instead of using disposable sandbags, consider plastic containers or water-filled barriers as a long-term alternative. Large storage bins, barrels, or even plastic-wrapped tires can be filled with water or sand to act as an effective flood barrier.
These can be drained and reused for future flood protection. Many homeowners started using these solutions due to the increased flooding risks in recent years, particularly after 2013.
Using Natural Materials
If you need a low-cost, eco-friendly alternative, consider filling burlap sacks, old fabric bags, or even large tree bark pieces with local soil, clay, or gravel. This method allows for temporary flood control without the environmental impact of synthetic bags.
Once the flood risk is gone, the materials can be returned to nature or composted. This is a great solution when there is no supply of commercial sandbags available.
Emergency-Only Methods
If no sandbags or traditional materials are available, use trash bags, pillowcases, or heavy-duty plastic sheeting filled with mud, rocks, or any dense material. Double-bagging can prevent leaks, and tying them securely with rope or duct tape helps maintain their shape.
While not a long-term solution, these can redirect minor floodwaters in urgent situations, such as protecting a garage or basement from water intrusion.
Weighted Tarps for Water Diversion
Instead of individual bags, a large tarp weighted with rocks, bricks, or dirt can serve as a barrier to redirect floodwater. This works best in flat areas where water can be channeled away from doorways or entry points.
Ensure the tarp edges are properly secured to prevent water from seeping underneath. Many homeowners have used this method with success after gaining experience from previous floods.
Stacked Earth Mounds
For rural areas or large properties, digging trenches and piling up compacted soil can act as a temporary flood barrier. Adding straw, mulch, or clay helps reinforce the mound, preventing it from washing away.
This is particularly useful for redirecting water in open fields or agricultural land and has been a common practice since 2013 when extreme weather patterns increased the demand for DIY flood solutions.
When to Use These Alternatives
These homemade sandbag options are ideal when traditional sandbags aren’t available or when looking for a reusable, cost-effective flood control method. However, for stronger, more durable flood barriers, commercial sandbags remain the best choice.
If you’re considering long-term flood prevention, combining these methods with professional-grade flood barriers ensures better protection and longevity for your house, garage, and other vulnerable areas.
How effective are homemade sandbags?
| Feature | Homemade Sandbags | Commercial Sandbags |
|---|---|---|
| Durability | Varies based on materials used; less durable than woven polypropylene. | Made from woven polypropylene; designed for extreme weather conditions. |
| Leakage Prevention | Less effective, especially if not sealed properly; can leak under pressure. | More effective at sealing water out due to tight weave and secure closures. |
| Ease of Use | Requires sourcing materials, filling, and tying manually; labor-intensive. | Pre-made bags save time and effort; easy to deploy in large quantities. |
| Material Quality | Dependent on available materials; may degrade quickly in wet conditions. | Industrial-grade materials withstand UV exposure, moisture, and pressure. |
| Longevity | Short-term solution; typically lasts days to weeks depending on exposure. | Can last months to years when properly stored and maintained. |
| Weight & Stability | May shift more easily due to inconsistent weight distribution. | Designed for stability, keeping barriers secure under water pressure. |
| Best For | Emergency use, temporary flood control, and low-cost options. | Flood control, construction, erosion prevention, and military use. |
| Cost Effectiveness | Cheaper upfront but may require frequent replacement due to poor durability. | Higher initial cost but long-term savings due to durability and effectiveness. |
Ready to make your own sandbags for flooding?
Flood damage can cost thousands of dollars in repairs, making reliable flood protection a must. While DIY homemade sandbags may work in an emergency, they often fail under severe weather conditions and degrade quickly. Heavy-duty sandbags, erosion control sandbags and UV-resistant sandbags provide long-term durability and stronger flood barriers when you need them most.
Don’t wait until the flood warning hits—be prepared today. Protect your home, business, or property with professional-grade sandbags that last.
Check our high-quality sand bags for sale and ensure you’re ready for any storm.
Homemade Sandbags FAQ
How many sandbags do I need?
The number of sandbags depends on the area and flood height. For a 10-foot section, you need about 50 bags stacked three layers high. A pyramid-shaped stack offers better stability. Higher walls require more bags. Always check local flood protection guidelines to estimate the right amount.
Do DIY sandbags work as well as store-bought ones?
DIY sandbags can work in emergencies, but they may not be as durable or effective. Store-bought sandbags are designed for proper stacking and water resistance, while homemade versions (using plastic bags or pillowcases) may tear easily or not seal as well. Use reinforced materials for better results.
What’s the best way to store unused sandbags?
Store sandbags in a dry, cool place off the ground to prevent moisture damage. Use pallets, tarps, or sealed containers to keep them from rotting or breaking down. If storing pre-filled bags, inspect them regularly for mold, pests, or signs of deterioration to ensure they remain effective.

By Purvis King
Bringing over 35 years of textile and flexible packaging experience to Palmetto, Mr. King earned his Bachelor’s Degree in Mathematics and Physics from Augusta College in 1985. He is skilled in all aspects of manufacturing and engineering of flexible, woven polypropylene plastics. In his free time Mr. King enjoys playing disc golf with his two sons and enjoying the outdoors.